Dear Reader, in this age of AI created content, please support with your goodwill someone who works harder to provide the human-made. Sign up at the top of the lefthand column or bottom of this page. You will receive my hand illustrated monthly newsletter RESTORE NATURE and access to the biodiversity garden design course as I write...and nothing else, I respect your time. I am also removing the advertizing as best I can as its become intrusive inappropriate and pays me nothing.
Build a 'bird's nest' raised bed in just a few hours to house asparagus.
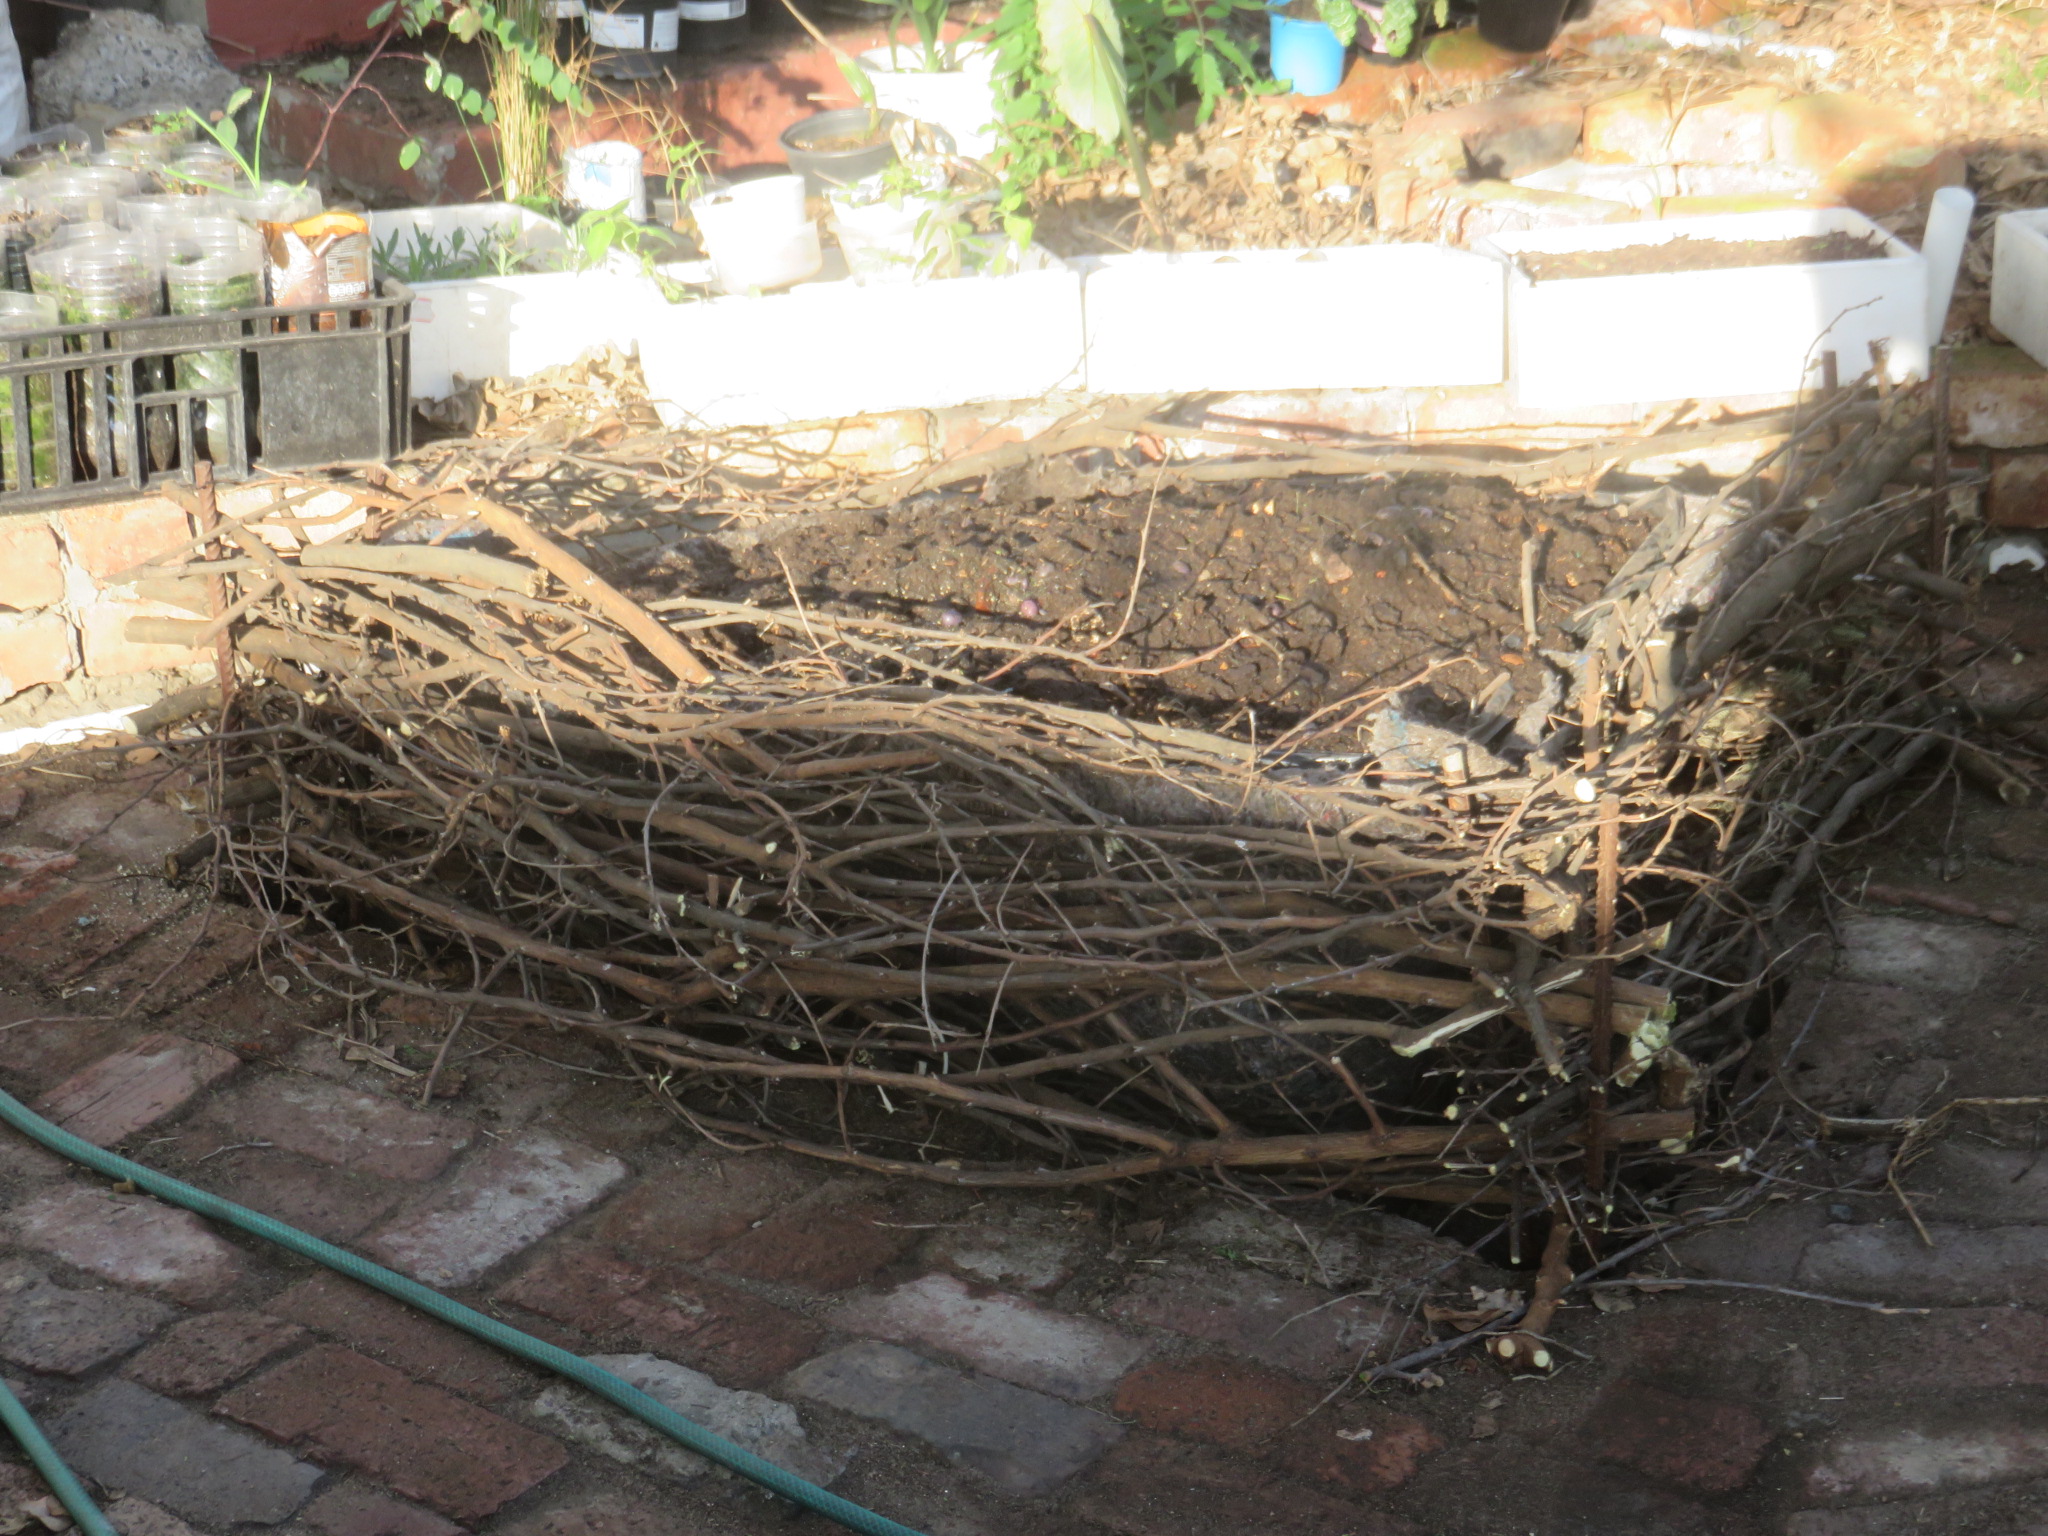 A bird's nest raised bed, built in a few hours from refuse, rags and rebar. Made to house asparagus, it is also insect and bee friendly.
Why build a raised bed ?
This week I needed to build a raised bed in a hurry. While traveling around doing our house fixing (we seem to have turned into the handy-couple who sand, paint and fix twenty four seven), we dropped off at a nursery and my husband surprised me with a bag of asparagus bulbs.
I hastily did some research, and was a little despondent. My previous attempt with hand raised asparagus seedlings was not successful and the causes seem to be climatic. Asparagus does not like winter rain, which we have in buckets (before global warming). It likes a winter freeze, which we don't have. Lastly it needs some summer rain, which we do not have. However, it seemed that some of the biggest asparagus producers like Greece and Italy have a Mediterranean climate, so it must be possible here in the western Cape of South Africa.
Our climate is so hot and dry in summer, I normally shy away from raised beds and have started building sunk beds with these bed preparation hacks, which preserve moisture. The sunk bed kept hardy greens going right through the drought last year. However, a raised bed promotes drainage of the soil it contains. With a raised bed the asparagus crowns will not remain permanently damp in winter and the soil will not be soggy and hopefully crown rot will be avoided. I can hand water the raised bed when the green ferns come up in summer, and I can give it the rich soil it needs. For once, in this exceptional case, I thought a raised bed was needed.
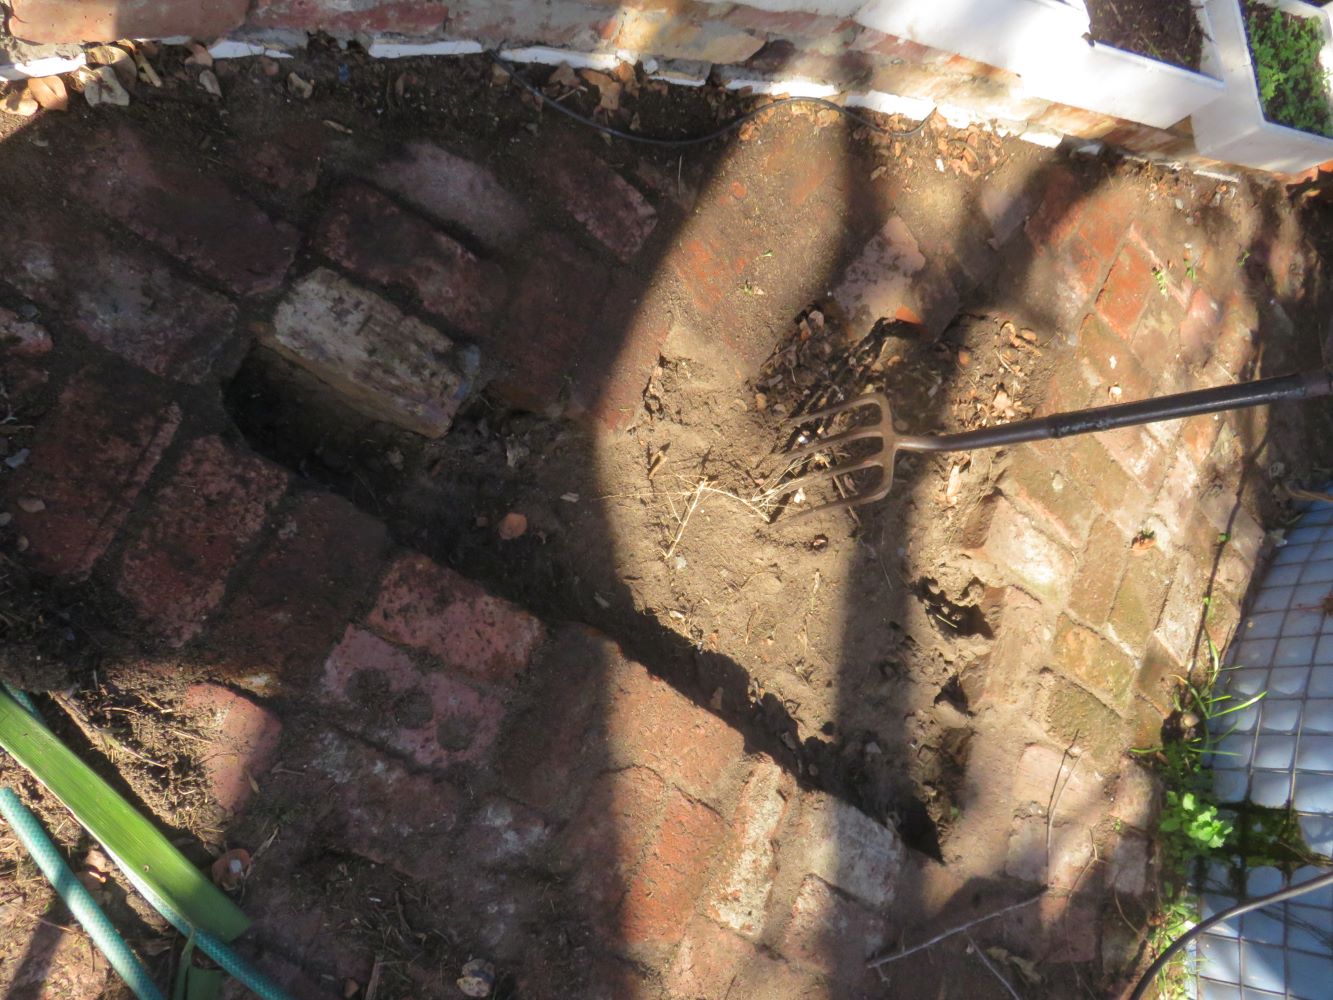 Based on the expectation that we had three asparagus bulbs, I built a triangular bed. The first stage was removing brick paving.
How to build a 'bird's nest'
raised bed
So in a great hurry, in a few hours, I built a raised bed for the asparagus bulbs from material I had available.
First I removed some bricks so that the bed could sit in the soil. I had decided on building with branches, one way or another. Most gardeners have this type of residue from tree felling or trimming. We have just cut back our enormous leguminous thorn tree, the native Acacia karoo, and the branches are everywhere in piles. It would be good to use them, get rid of most of the big piles, but still keep the insect friendly masses of dead wood for greater insect diversity in the garden. Greater insect diversity helps keep pestilential herbivorous insects down, and the wood not only shelters hunting, carnivorous insects, but supplies habitat for solitary and carpenter bees, some of the best pollinators.
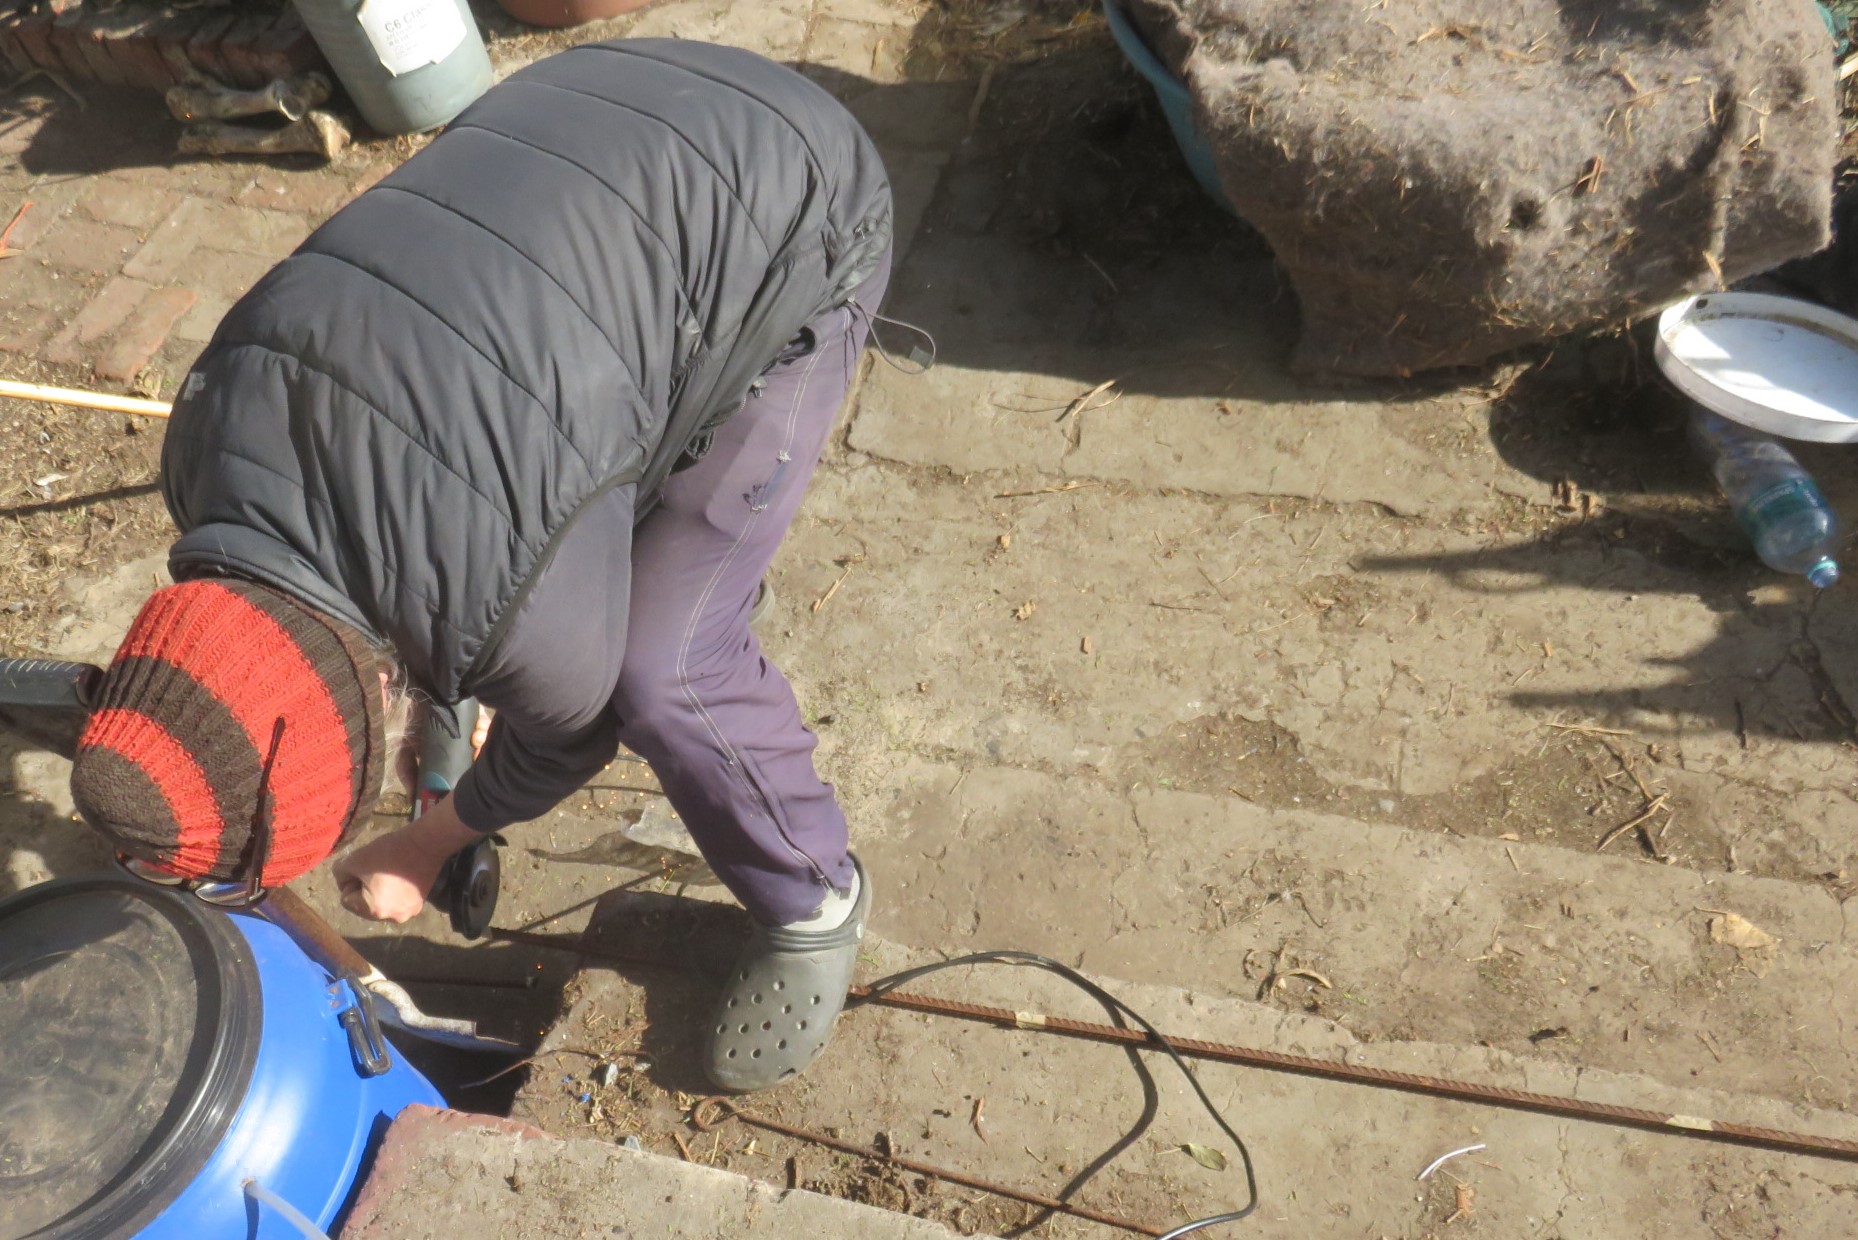 My husband gave the gift of asparagus bulbs, and cutting rebar.
To hold the branches in place, two iron bars at each corner of the bed were needed, so Stephan helped again, and cut up some rebar we had lying around, after measuring 50cm lengths. At each corner of the triangle of cleared bricks I hammered in two rebar rods. I found branches long enough and slotted them into the 10cm or 3 inch gap between the two rebar rods at both ends. Laying the branches moving around the bed, rather than building one wall at a time, I slowly built up from the bottom on all sides and pushed down the twigs firmly.
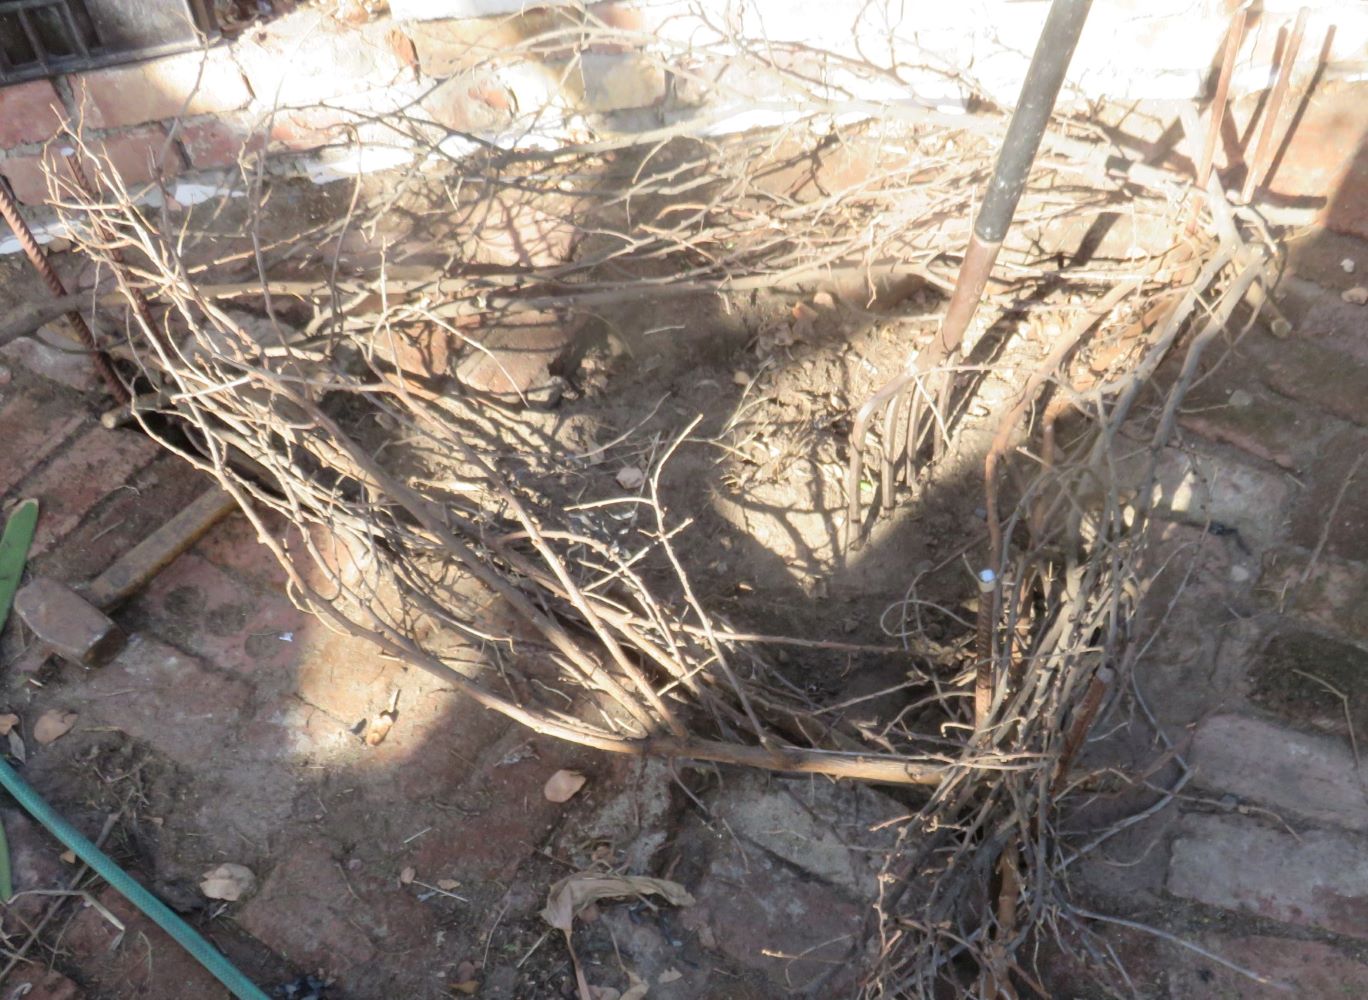 After the first three layers of sticks. You can see the rebar at the corners, but the mid winter shadows break it up a bit.
Once the wall was of sufficient height, I lined the walls of the bed with carpet underfelt I had lying around, and lined the carpet underfelt with plastic, which I folded in neatly. I did this to contain the soil, and the plastic was to avoid water gushing out between the branches, instead of passing down through the bed. I left the bottom of the bed open to the soil for drainage and root-space for the plants.
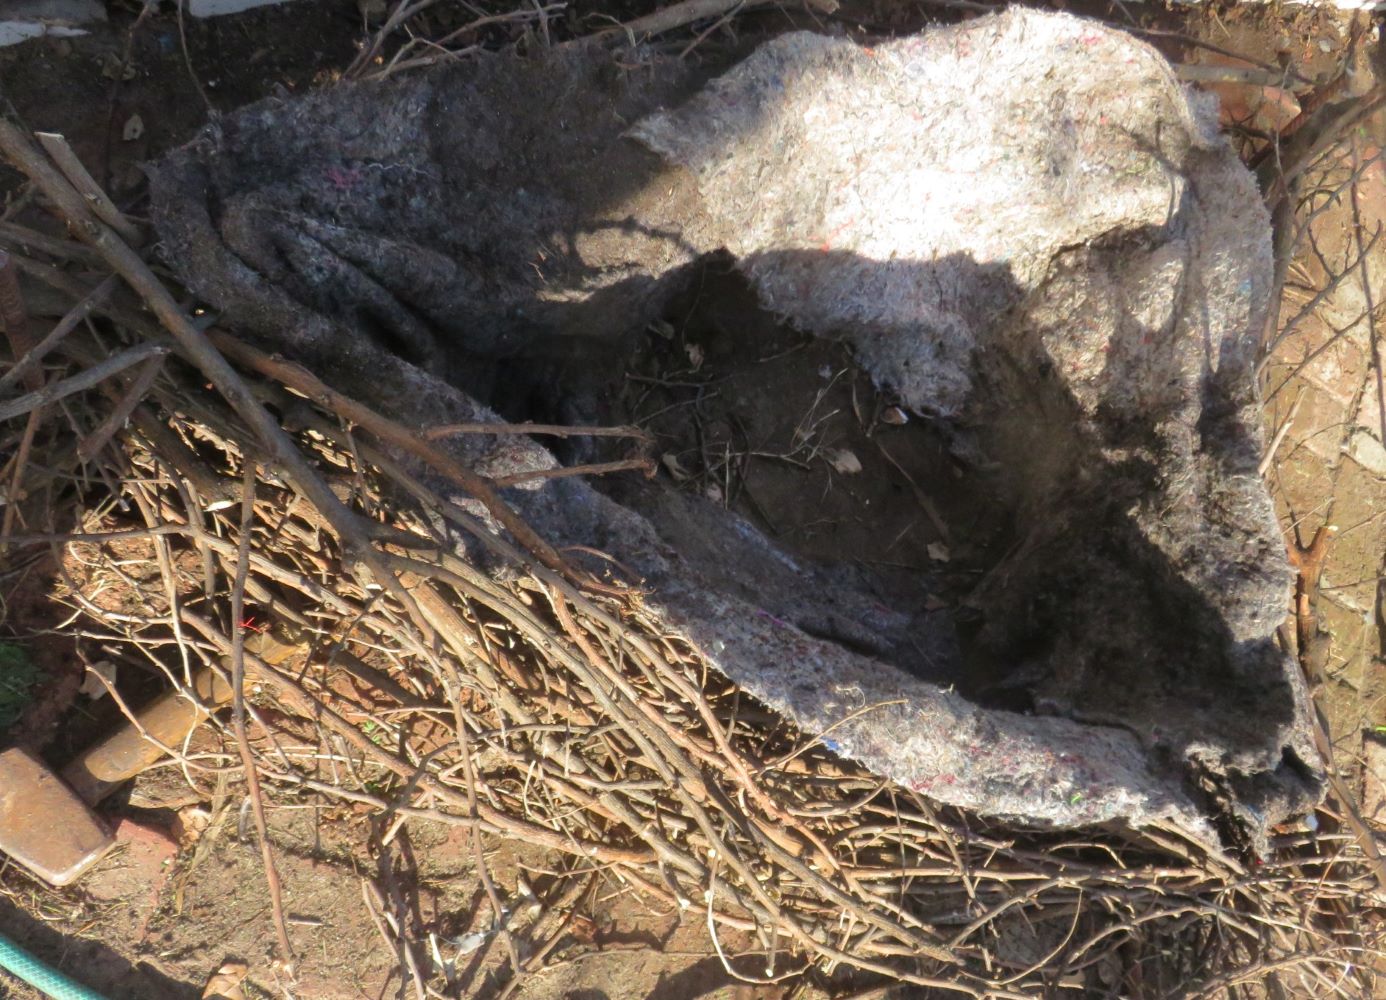 old carpet underfelt old carpet underfelt |
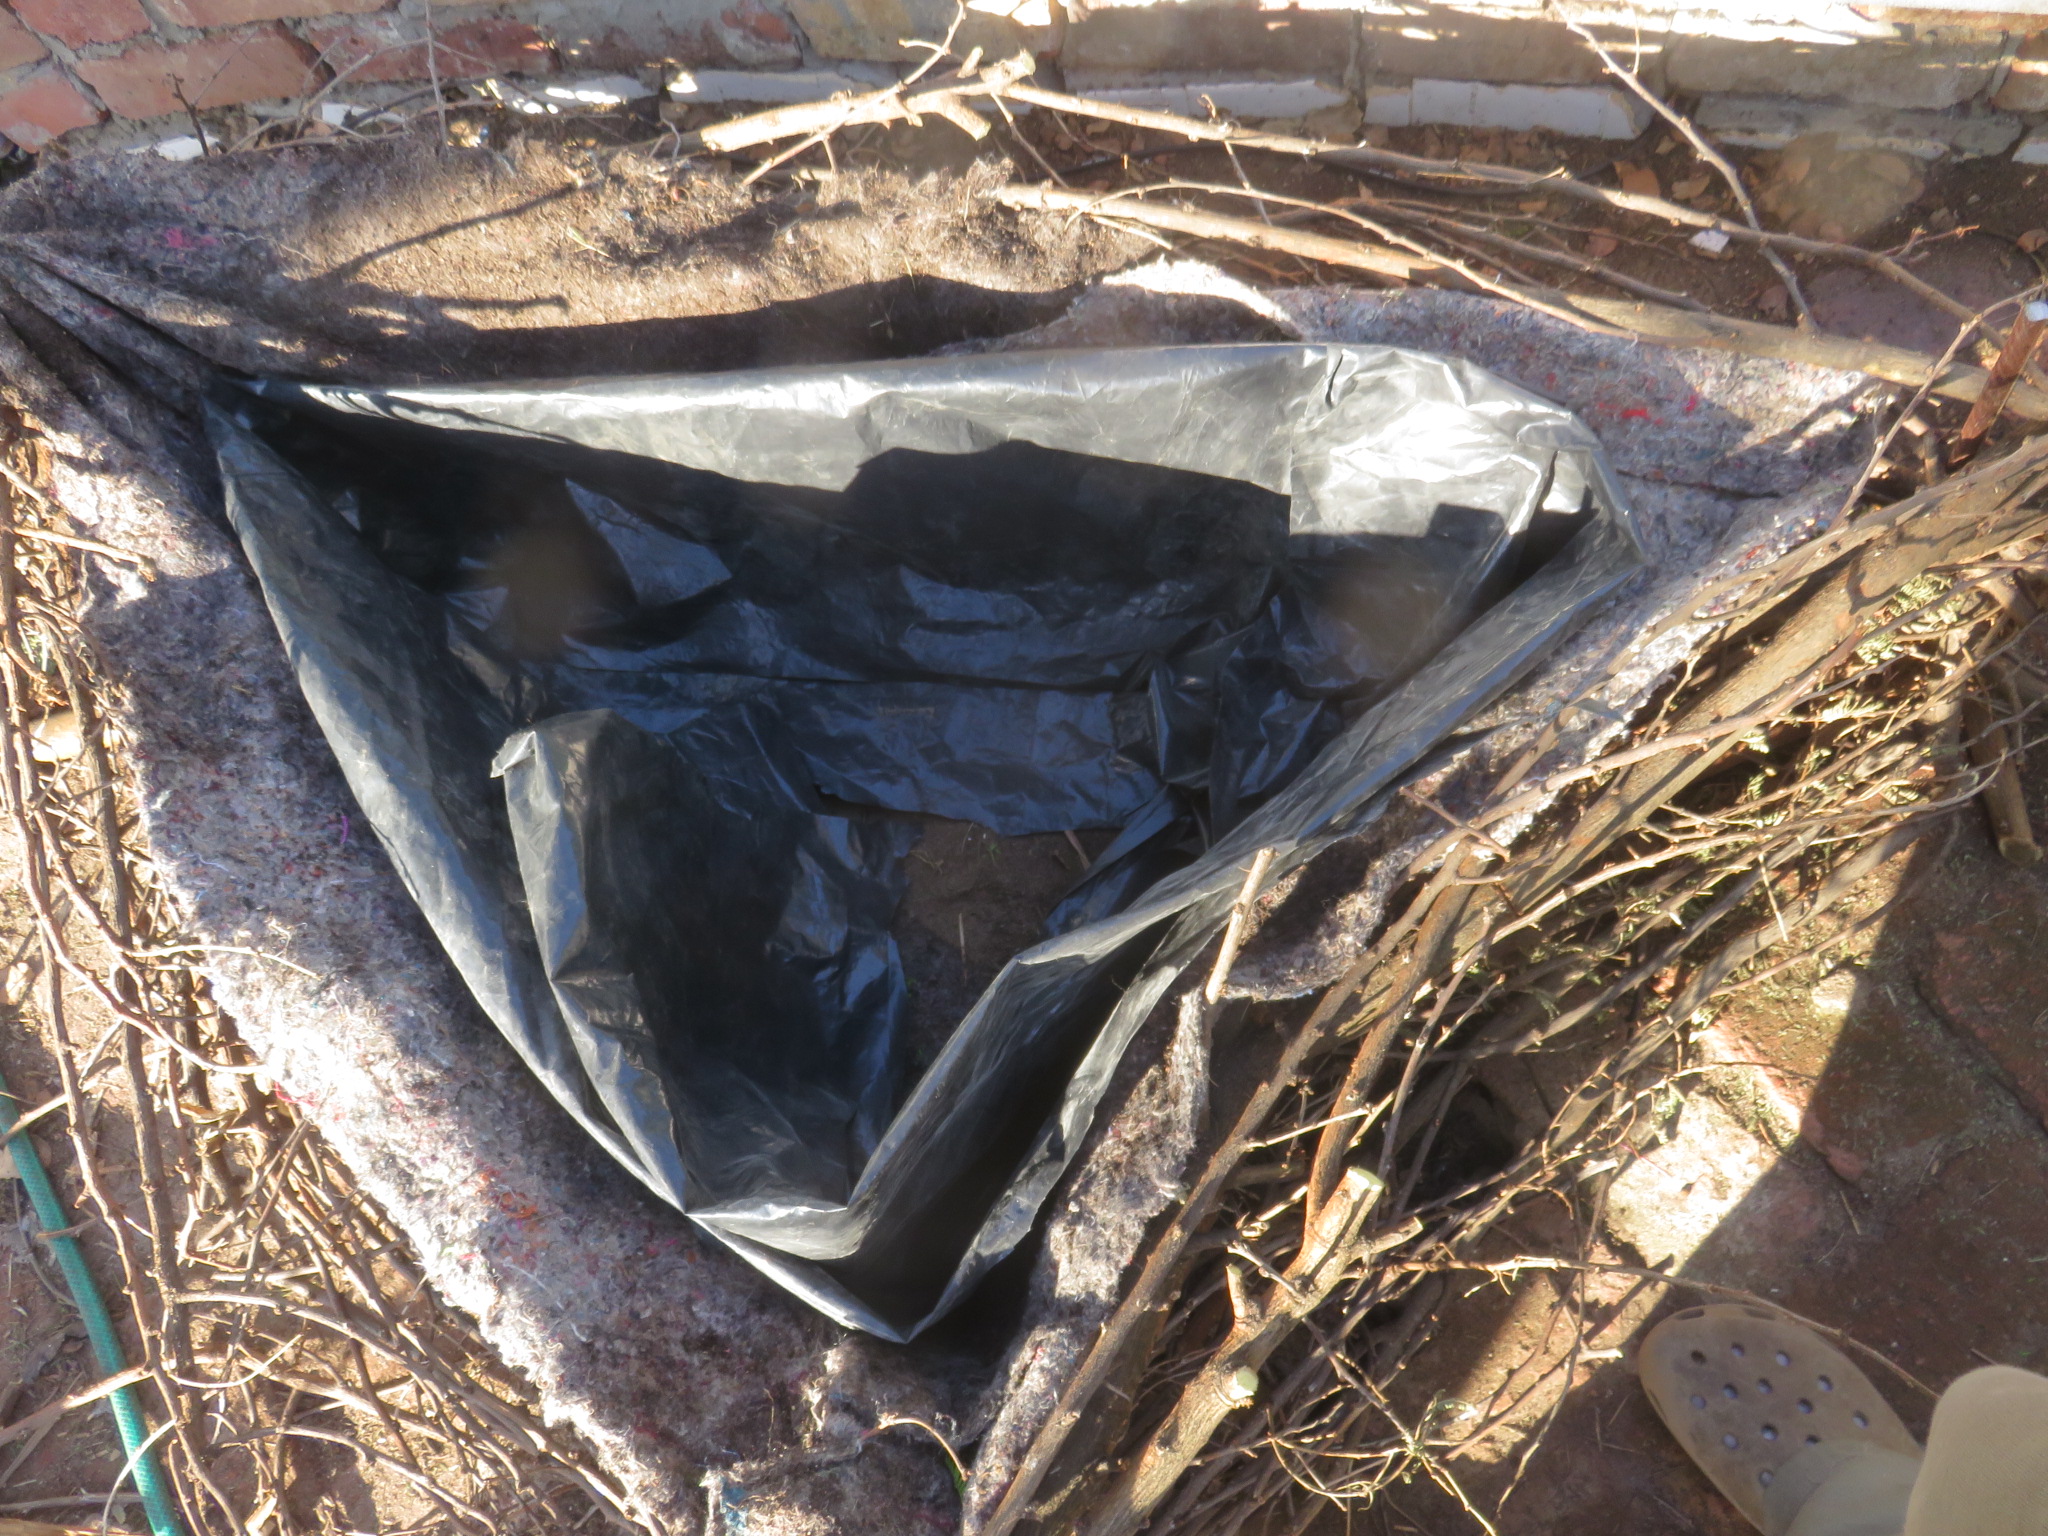 black plastic offcuts black plastic offcuts |
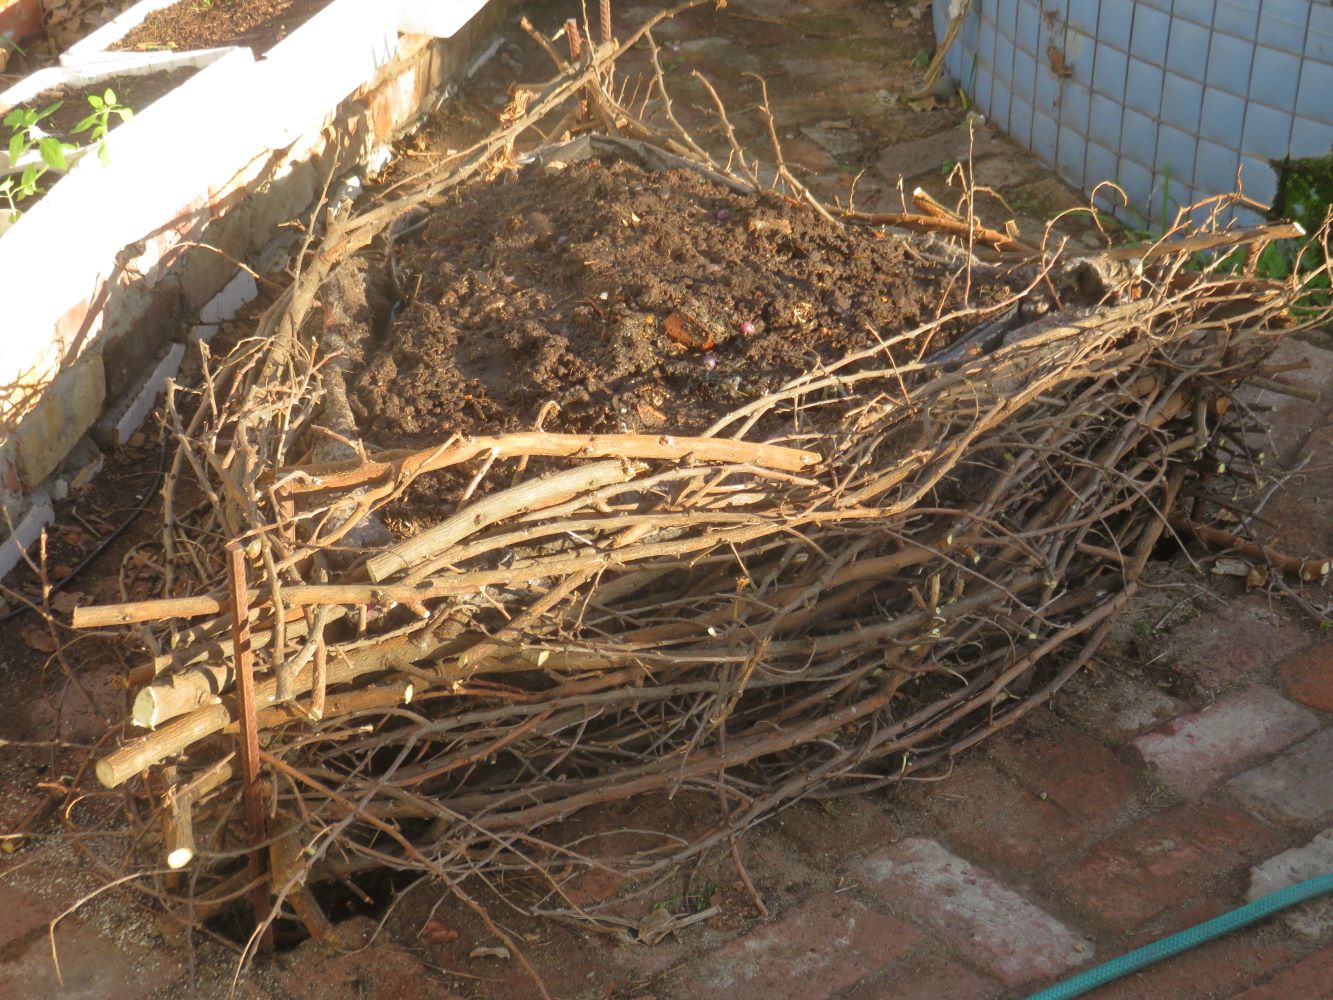 Fill the nest with rich, free draining soil. I used 2:1 sand and old manure, topped with vermicast. Then trim the ends.
Then into the container formed by this, I laid down garden sand and aged manure in a 1:2 manure to sand relationship. I used old sand from pots I had emptied and I hope this does not create a problem with fungal, virus or bacterial infections, as asparagus are susceptible, but I had no other soil ready. I topped it off with a 5cm layer of vermi-compost, which we make ourselves. Visit my husband's informative website on vermiculture to find out how. After weighting the bed with the soil-compost filler, I cut the protruding twigs at the corners a little shorter with a lopper and bow saw, so that they are less likely to snag the legs when we walk past. Loose leftover twigs were woven into the walls of the nest.
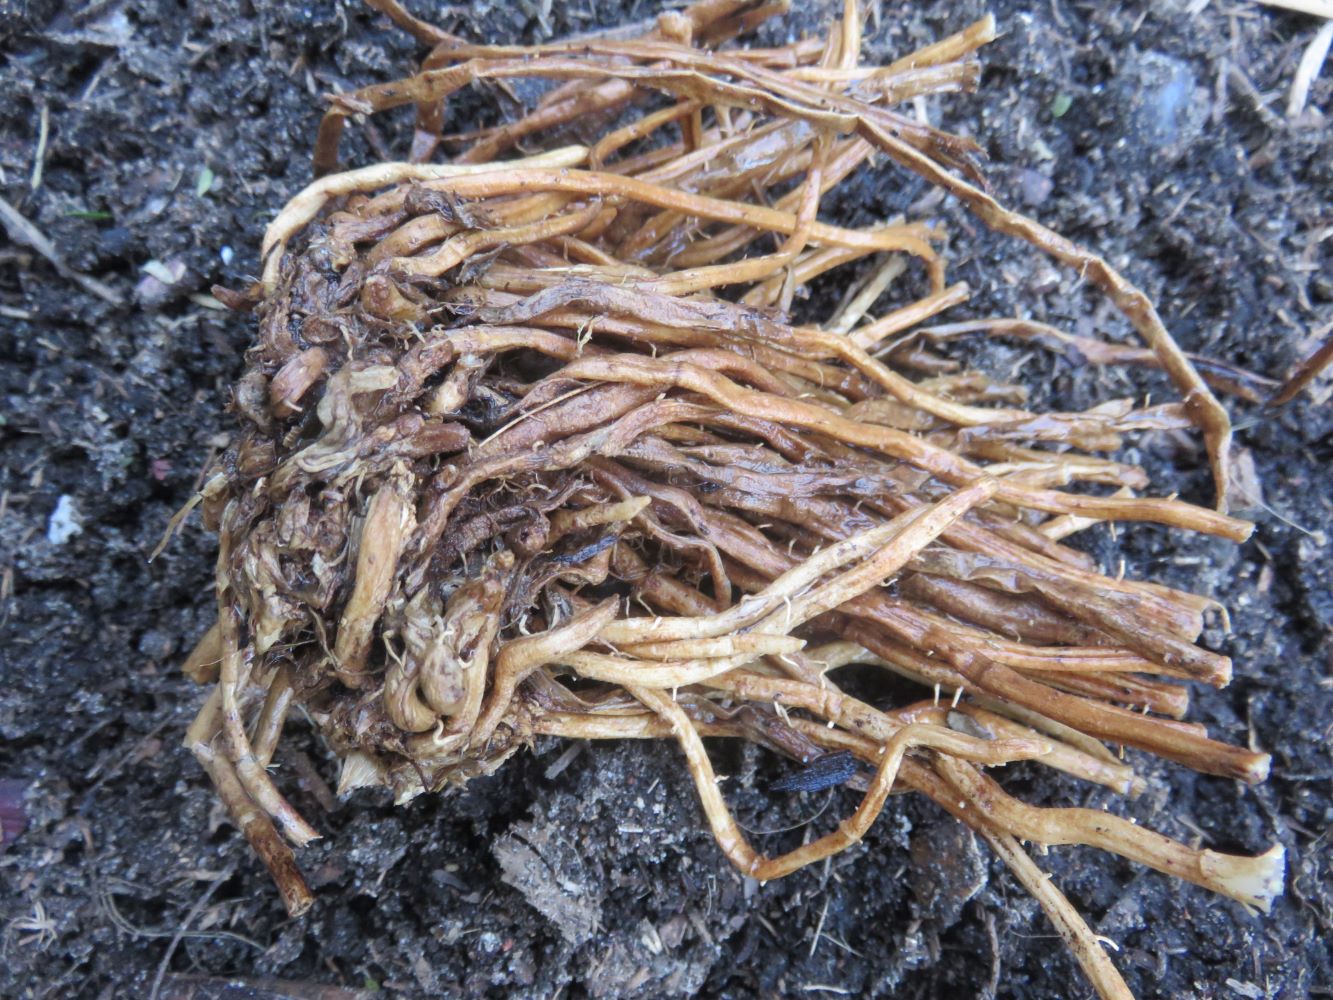 a bedraggled, desiccated looking asparagus bulb
Planting the asparagus
Most advice you get on asparagus involves making a deep trench and back-filling over a period of weeks. The form of this bed made it difficult to do this. Another author claims that the bulbs are able to move themselves to the right depth and do not need help, just to be planted under 4 inches (10cm) of cover. As this advice was convenient I followed it. I have also heard of bulbs migrating vertically through the soil, as some of our local native bulbs do this, to adapt to scorching dry summers and wet winters. They also have those strong roots, as a lot of tension is required to pull the bulbs deeper into the soil. This may be why asparagus loves such loose soil, and a raised bed automatically creates this looseness when it is still fresh.
When I opened the bag to plant the asparagus I found seven bulbs, when I'd calculated on three. It was a pleasant surprise in some ways, but with shock and horror I realized I could not use the classic spacing of 40cm without building another bed and I didn't have time, so the bulbs are planted at an average of 20cm apart. Asparagus apparently does not like competition with other plants, and needs to be weeded with dedication, and I hope my bulbs will not out compete each other.
I just want them to survive till the garden building process allows some of them to be transplanted to a permanent location, which I'm not able to do right now.
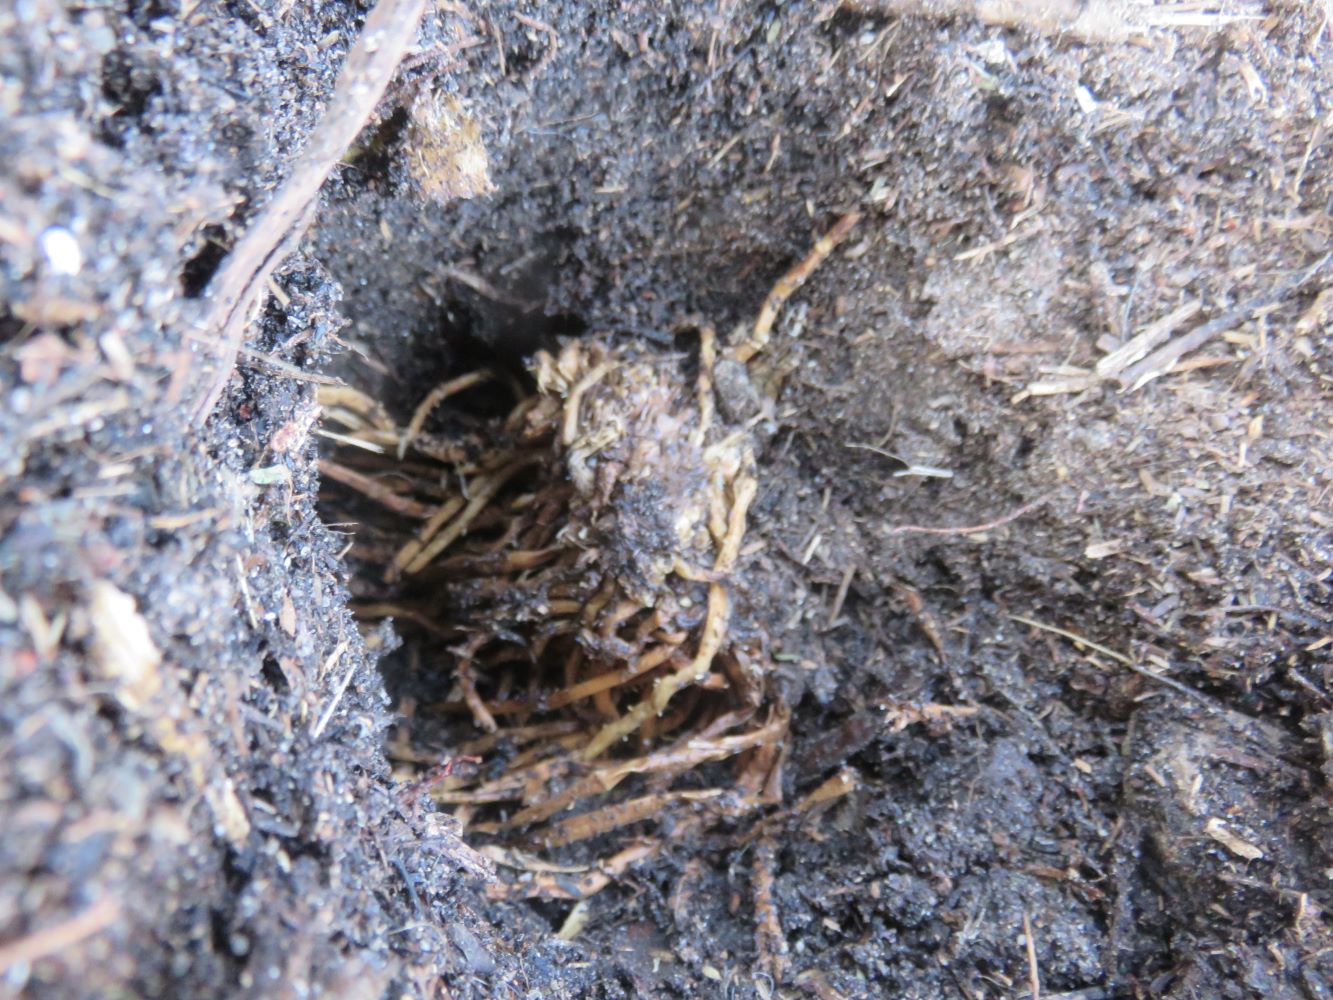 Plant the asparagus 4 inches deep.
I soaked the bulbs per prescription, for 30 minutes. Some people say a few hours, the majority say twenty minutes or slightly more, so I bet on the averages. I used a rainwater and vermicast mix for the soaking as worm compost has such a rich microbial life it tends to combat fungus and pathogens somehow. Perhaps the microbes devour or out-compete the pathogenic fungus. Whatever the case we don't have a wilting off problem with seedlings when we use worm castings.
The asparagus now faces several challenges: our unfavorable climate, possible contamination via nursery pots containing failed plantings, closer than recommended spacing, and unconventional planting without trenches. All it really has in its favor is the abundance of diverse microbes in vermicast and humanure.
So a hasty job was done in a few stolen ours shoved into the rest of life's long to do list. There are many possible points of failure in this experiment, most of which I'm trying to band-aid over with vermi-compost and micro-biome juju. In two months we will see what happens to
the asparagus and whether the bed made of twigs stands up to the pressure of winter
rain.
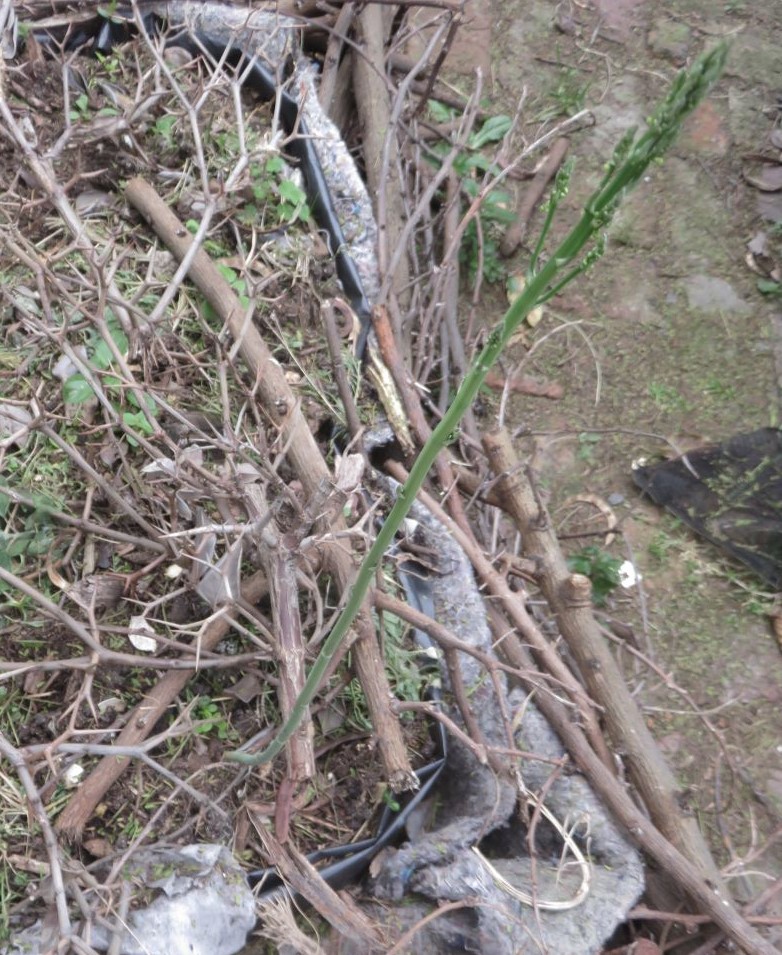 In spring, our late August, early September, a spear emerged.
 After heavy winter rains, the bed had survived. In spring, on the cusp between August and September, two spears came up. None of the other roots seem to have produced anything. I must leave the spears to grow, flourish and feed the underground parts of the plant which will produce edible spears in the years to come.
------
------
how to grow different perennial food plants
Restore Nature Newsletter
I've been writing for four years now and I would love to hear from you
Please let me know if you have any questions, comments or stories to share on gardening, permaculture, regenerative agriculture, food forests, natural gardening, do nothing gardening, observations about pests and diseases, foraging, dealing with and using weeds constructively, composting and going offgrid.
SEARCH
Order the Kindle E-book for the SPECIAL PRICE of only
Prices valid till 30.09.2023
Recent Articles
-
garden for life is a blog about saving the earth one garden at a time
Apr 18, 25 01:18 PM
The garden for life blog has short articles on gardening for biodiversity with native plants and regenerating soil for climate amelioration and nutritious food -
Cape Flats Sand Fynbos, Cape Town's most endangered native vegetation!
Apr 18, 25 10:36 AM
Cape Flats Sand Fynbos, a vegetation type found in the super diverse Cape Fynbos region is threatened by Cape Town's urban development and invasive alien plants -
Geography Research Task
Jan 31, 25 11:37 PM
To whom it may concern My name is Tanyaradzwa Madziwa and I am a matric student at Springfield Convent School. As part of our geography syllabus for this
"How to start a profitable worm business on a shoestring budget
Order a printed copy from "Amazon" at the SPECIAL PRICE of only
or a digital version from the "Kindle" store at the SPECIAL PRICE of only
Prices valid till 30.09.2023
