3 ways to help the author that COST YOU ABSOLUTE ZERO ! see the bottom of the page.
stages of pond building:
a concrete tank for water storage, fish and people
 Marc Niehaus after a hard day of pond building
THREE WAYS TO REWARD MY WORK THAT WILL COST YOU NOTHING AT ALL. Dear Reader, in this age of AI created content, please support my human-made content. It requires a lot of research and garden experimentation, aka blood sweat and tears, the last ten years. You pay me back by signing up for the free newsletter (once a month, no spamming) at the top of the lefthand column or below. Please use the response form at the bottom of the page to respond directly to its content. If you find what I give you useful I would appreciate a share to the social media platform of your choice, the buttons are on the extreme right of your screen, Just click them !
Restore Nature Newsletter
I've been writing for four years now and I would love to hear from you
Please let me know if you have any questions, comments or stories to share on gardening, permaculture, regenerative agriculture, food forests, natural gardening, do nothing gardening, observations about pests and diseases, foraging, dealing with and using weeds constructively, composting and going offgrid.
Pond building seems like an addiction looking back. We regularly have periods of construction, but there were long periods, even of decades when we just enjoyed the ponds, did koi breeding, and took dips in them in the summer heat.
How our new pond building project was born
A while ago I wrote about the way we use biofiltration, fish and plants in a natural swimming pool system as part of our water saving strategy on a tight budget. I’ve also written about garden ponds in general and my ecosystemic design plans for our old pond.
 Stephan immersed in admiring his fish
First I will give you a little history of our pond building. Our first fish pond on the spot was a giant pvc sheet weighted down by water in a 1 metre deep v shaped hole. We’re built on at least 3m of sand, an old sand dune, and subsidence bedevilled this pond.
As an alternative we submerged a deep portapool into the ground close by and this also subsided, bulging the liner inward. So I built a circular brick retaining wall in the ground for the portapool. The pond became part of a four pond koi breeding system. All was well for decades, till tree roots ripped its base and the leaks just wouldn’t seal. Then all the above ground portapools but one were drained and packed up as the house was put on the market, but we found no buyer.
Stage 1: the pond wall
 stage one of pond building, a retaining wall in the ground. The pond is in disuse and filled with vermicompost.
After that I decided to repair and improve the pond, because fish breeding, my husband’s passion, requires more than one pond. Then we had a terrible drought, which is still ongoing, and the need for more rainwater storage capacity became evident.
stage 2: making the wall higher
In this article you will see how we built up the circular brick retaining wall above ground and cast the bottom. Ponds level with the ground get more blown debris, so the above ground wall is for keeping it clean. The wall was plastered and I ordered a PVC industrial grade liner. After that my partner and I felt a concrete bottom was needed. It would stave off root penetration which wrecked the old pond that was in the ground.
 stage two: vermicast gone, wall built up and plastered
So the team who have always worked together on our pond through its checkered history and shared Koi fish and general pisicine enthusiasm for a quarter century, got together to cast a base on the pond.
These are my husband Stephan Kloppert (Koi breeder, worm farmer and food author) and his old friend Marc Niehaus (Aquaponics systems expert, fish breeder and very expert builder). We are exceedingly grateful to Marc for sharing his skill.
stage 3 of pond building:
installing the bottom drain
 first find the old pipe, next the earth was compacted
 installing bottom drain installing bottom drain |
 cementing drain in place cementing drain in place |
If there are going to be fish in the pond, we’ve found a bottom drain is a must. We bought a large one which will lead under the ground to vertical 100 mm stand pipe. This is pipe whose lip is lower than the pond surface, into which another loose pipe is wedged so tight that water doesn’t leak out, ideally. The loose pipe can be pulled out and the water pressure then forces the water near the bottom drain out through the pipe in a rapid gush, flushing out sediment and settled fish feces. 100mm is needed to get enough pull to do and also to prevent blockages. This water is very nutrient rich.
stage 4 of pond building:
casting the base
 The guys with the concrete mixer starting out
First they stamped down the bottom, then cut a trench for the pipes and installed the bottom drain in a bed of wire mesh as reinforcing. The trench was filled with concrete mixed by hand. I calculated that over a meter cubed of concrete was needed to make a 15 cm slab and I had ordered a cube each of sand and stone. For the main floor of the pond they decided on hiring a concrete mixer.
On the day after setting the bottom drain the concrete mixer arrived and they placed more mesh all over the bottom of the pond, raised off the dirt with small brick pieces so that the concrete could get underneath and the wire would be embedded in the middle of the layer of concrete. Marc’s two son’s Ethan and Jayden were there too, admiring their dad’s handiwork and helping with water and other stuff.
 near the end of casting the bottom
Marc worked flat out until it was done, a long long day, and we carried buckets of stone and sand until our backs were breaking. It was very hard work for everyone concerned but what a beautiful job was done !
further pond building stages
The pond must dry completely first before adding the liner, which has been in the store room for a while. A cement lip must still be added on top of the wall. Then the liner must be attached to the bottom drain and the pond carefully filled with water while getting the liner in place in its final position. Then the liner edge is stretched over the cement lip, rolled up and pinned to the wall with special nails. After this capping bricks will be added at right angles to the wall and the wall will be plastered level with the capping on the outside of the pond.
I’ve many other intentions for the whole water ecosystem in which the concrete water tank is a central element. But no more of that. Remaining a bit detached from the ideas that drive the project helps me with the patience that is required to see them realized.
To round off, a role model for planting, a picture of part of my sister's lovely pond system in southern California. Below you will find links to Marc Niehaus on facebook, where Marc posts pictures of his own aquaponic systems and natural swimming pool, and Stephan's website for comprehensive worm farming information.
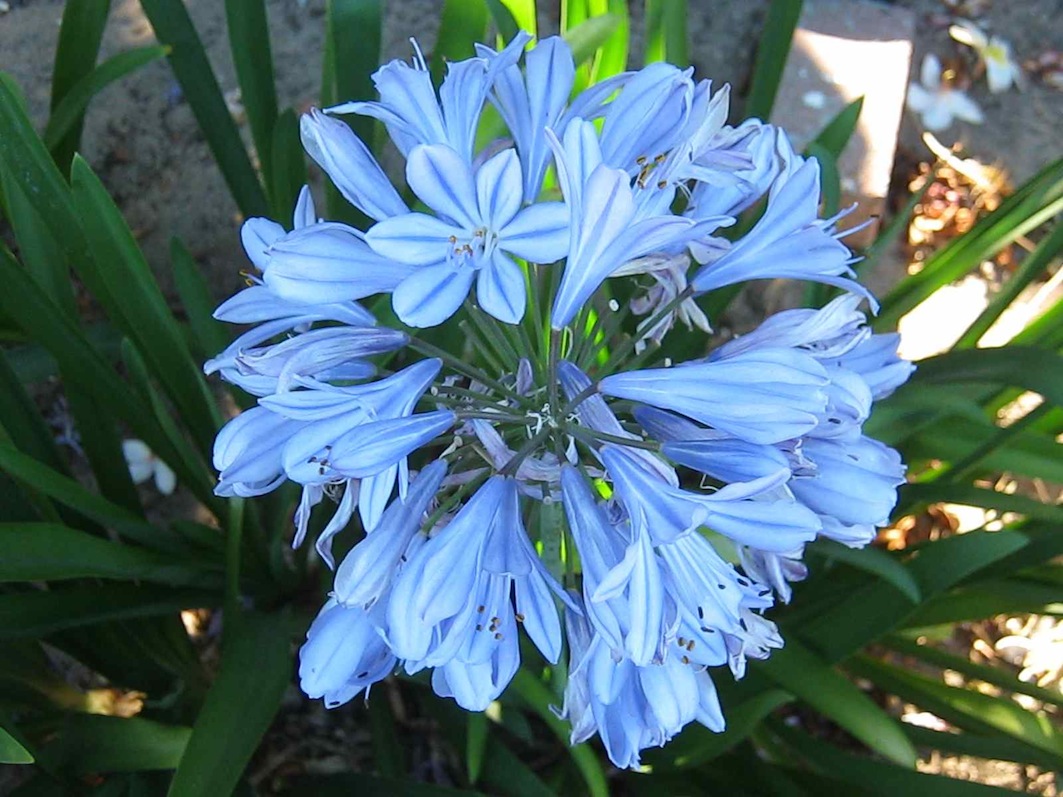
 part of my sister's pond system in southern California
------
home page with links to info on my natural gardening
------
conserving water in the garden with water storage capacity, plant choices and soil management.
------
-------
The pond is on a worm farm. Here is a worm farming website for all your questions on worming
-------
pond building album one, more pics of building
------
pond building photo album two - inserting the liner
------

SEARCH

Order the Kindle E-book for the SPECIAL PRICE of only
Prices valid till 30.09.2023

"How to start a profitable worm business on a shoestring budget
Order a printed copy from "Amazon" at the SPECIAL PRICE of only
or a digital version from the "Kindle" store at the SPECIAL PRICE of only
Prices valid till 30.09.2023

")