Dear Reader, in this age of AI created content, please support with your goodwill someone who works harder to provide the human-made. Sign up at the top of the lefthand column or bottom of this page. You will receive my hand illustrated monthly newsletter RESTORE NATURE and access to the biodiversity garden design course as I write...and nothing else, I respect your time. I am also removing the advertizing as best I can as its become intrusive inappropriate and pays me nothing.
Ferrocement Album
Day 2 to 5:
building the body
Reviewing Day 1, casting the base
On the first day of building the ferrocement tank, the foundation was cleared, a trench
below the walls was filled with stone, the floor was covered with stone, it was all tamped down, a metal frame was made and laid on the stone, The metal side ribs were driven into the ground through the trench of stone, and then a cement stone mix was prepared and poured all over the circle of loose stone, from the ribs inward.
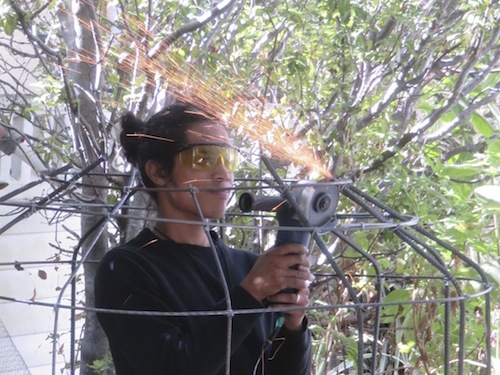 On ferrocement album day 2-5 we cover building the steel frame and doing foundation plastering on the body of the tank
Day 2: building the steel frame
After a few days break, giving the cement base a chance to set, the body was built. The metal side ribs were curved inward to form a frame with a mouth, like a jar. Horizontal ribs were made and fixed to the vertical ribs, with a double wire loop that Imraan taught us to make, and the parts sticking over the ring at the mouth of the tank were trimmed with an angle grinder.
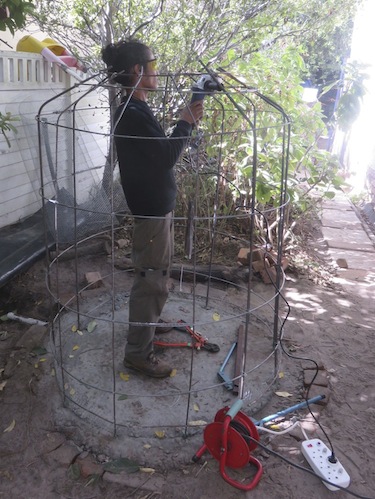 The base is now hard, the horizontals tied on The base is now hard, the horizontals tied on |
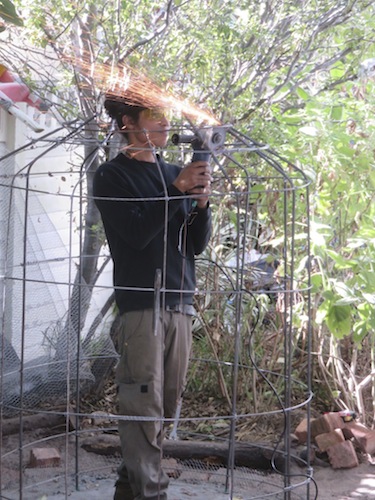 Imraan trims ribs overshooting the mouth ring Imraan trims ribs overshooting the mouth ring |
Then the chicken wire mesh was tied to the ribs. There is one layer on the inside of the ribs and one on the outside. It helps to start at one side, fix all verticals and then pull horizontally, slowly working around the form to ensure the mesh is tight and doesn’t bag, or form creases, because as we later found out, plastering mesh which is loose and springy is much harder.
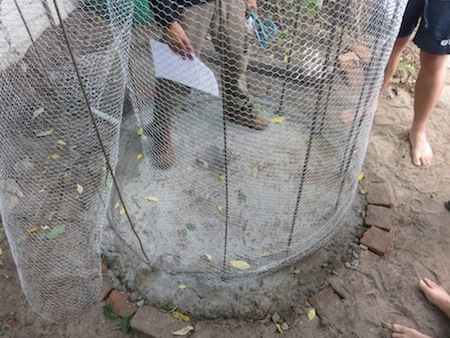 Demonstrating how much of the mesh roll will cover the outside
Plastering the body:
Day 2-5
After tying the mesh onto the form and shaping it in the neck of the tank, we began to plaster. Imraan worked from the inside and the rest of us from the outside. He did a lot of the inside work as only one person at a time can comfortably fit in the tank. The inside work probably also requires more skill and precision as it is the side which comes into contact with water. Some agility is needed to get in and out of the tank, even with the help of a ladder. The mouth of the tank was made large enough to accommodate the ladder of course.
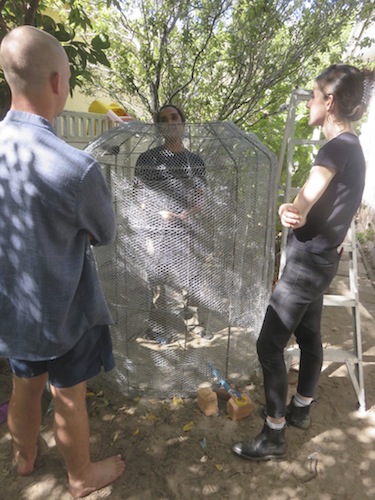 communication from the inside and vice versa communication from the inside and vice versa |
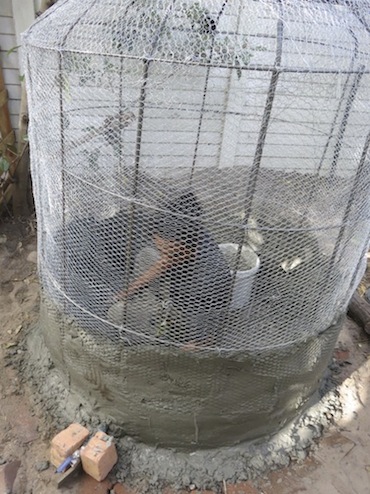 Imraan plastering inside, tank outlet valve bottom left Imraan plastering inside, tank outlet valve bottom left |
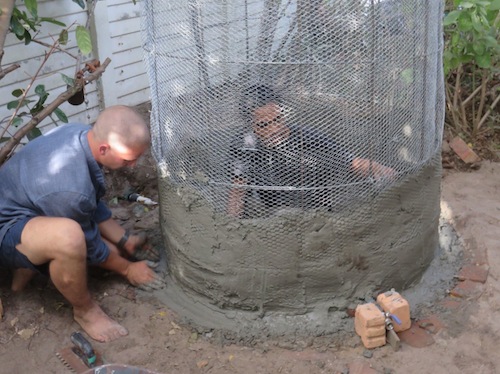 Two plasterers pressing from opposite sides works well
Before casting the base on day 1, the bottom drain must be laid as it is impossible to do once the bottom is hard. The bottom drain empties at a low point behind the tank and cannot be seen here. Likewise, before plastering the sides, the outlet of the tank must be placed, seen directly above at the bottom right, supported with bricks. The overflow must also be positioned, it is much higher up just before the neck of the tank and was done later. Then we started plastering. It worked
well when two plasterers worked against each other, pushing back the oozing
plaster which falls out of the
side away from the trowel. The body plastering took three days, and on the second it was spitting with rain, and we got nearer to top of the tank before covering it with a tarp to prevent the plaster being washed off. I missed the completion of the plastering of the neck, which must have been tricky as it involved Imraan plastering above his head, with nothing but the mesh preventing the plaster from falling in his eyes. After this hardened, the rest of the plastering could occur and will be dealt with in the next article.
------
home page for links to numerous articles on natural gardening
------
links to various water conserving systems covered on this website
------
Ferrocement Album Day 1: casting the base
------
Guerilla House, the builders of this tank, on facebook
Restore Nature Newsletter
I've been writing for four years now and I would love to hear from you
Please let me know if you have any questions, comments or stories to share on gardening, permaculture, regenerative agriculture, food forests, natural gardening, do nothing gardening, observations about pests and diseases, foraging, dealing with and using weeds constructively, composting and going offgrid.
SEARCH
Order the Kindle E-book for the SPECIAL PRICE of only
Prices valid till 30.09.2023
Recent Articles
-
garden for life is a blog about saving the earth one garden at a time
Apr 18, 25 01:18 PM
The garden for life blog has short articles on gardening for biodiversity with native plants and regenerating soil for climate amelioration and nutritious food -
Cape Flats Sand Fynbos, Cape Town's most endangered native vegetation!
Apr 18, 25 10:36 AM
Cape Flats Sand Fynbos, a vegetation type found in the super diverse Cape Fynbos region is threatened by Cape Town's urban development and invasive alien plants -
Geography Research Task
Jan 31, 25 11:37 PM
To whom it may concern My name is Tanyaradzwa Madziwa and I am a matric student at Springfield Convent School. As part of our geography syllabus for this
"How to start a profitable worm business on a shoestring budget
Order a printed copy from "Amazon" at the SPECIAL PRICE of only
or a digital version from the "Kindle" store at the SPECIAL PRICE of only
Prices valid till 30.09.2023
